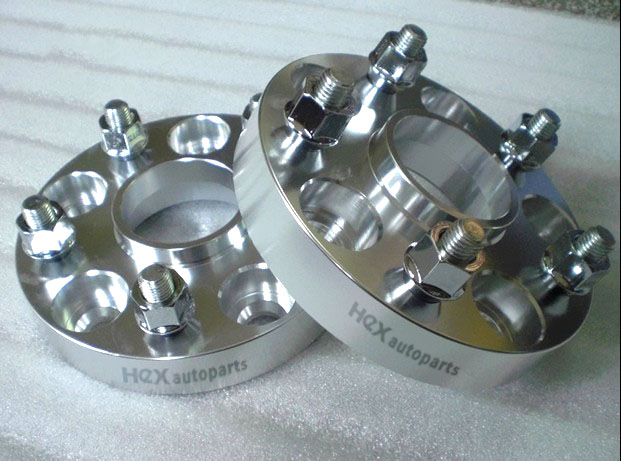
There is no doubt that Hubcentric Wheel Spacers play an important role for style and safety when you are building a custom ride. Hubcentric wheel spacers are designed to make sure the weight of the car is carried by the hub and not by the studs or bolts. Whether you drive a Jeep or Car, you want to make sure that you have the right stance and fitment when installing rims and tires. The right Hubcentric Wheel Spacers allow enthusiasts to control the look and style of their ride safety.
High-quality wheel spacers are made of a billet aluminum that is just as strong, if not stronger than the wheels they attach to. Hex Auto wheel spacers ensure that your wheels align to your vehicle’s axles, while the extended lug stems provide enough length so that your lug nuts can be torqued down to manufacturer’s specifications.
HexAutoParts offers Hubcentric Spacers and Adapters that come with the correct length extended lug bolts to fit any make or model. So, you can choose the size, thickness, bolt seat type, lug bolt finish or stud conversion to fit your needs. To make things easy for you, there is also the option to shop by manufacturer to ensure you get the best fitting Hubcentric Spacer. This article is being written as a reference Auto Hubcentric Wheel Spacers installation guide only.
HOW TO INSTALL AUTO WHEEL SPACERS
Tools You Need Prepare:
Gloves (optional)
Automotive Jack
Jack Stand (optional)
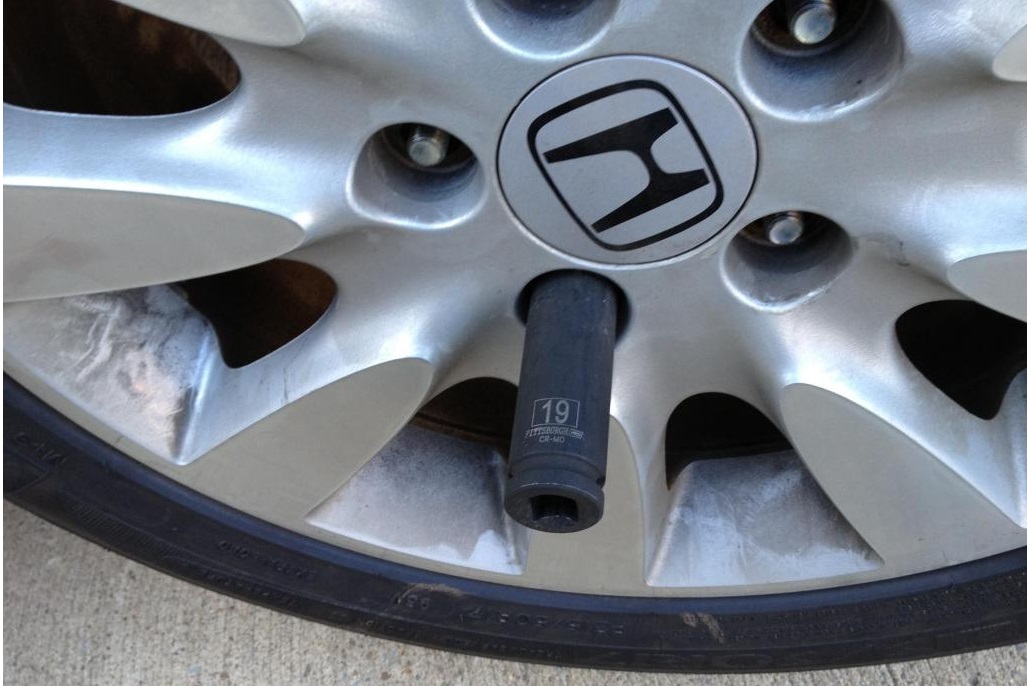
Tire iron or breaker bar with w/ 19MM sockets
Torque wrench
Wire brush
Degreaser
Shop Rag
x1 Pair Hubcentric Wheel Spacers
Note: Please always make sure you are installing wheel spacers that fitted for your vehicle. Click Hex Auto Wheel Spacers Selection Guide to choose the properly Wheel Spacers.
1) Apply the parking brake & working on one side at a time, loosen the five 19MM lug nuts with the tire iron OR a breaker bar with a 19MM socket but do not fully remove them
2) Jack up either the front or rear of the vehicle (that you are working on) and properly support on jack stands.
3) Continue by removing the lug nuts completely off of the wheel
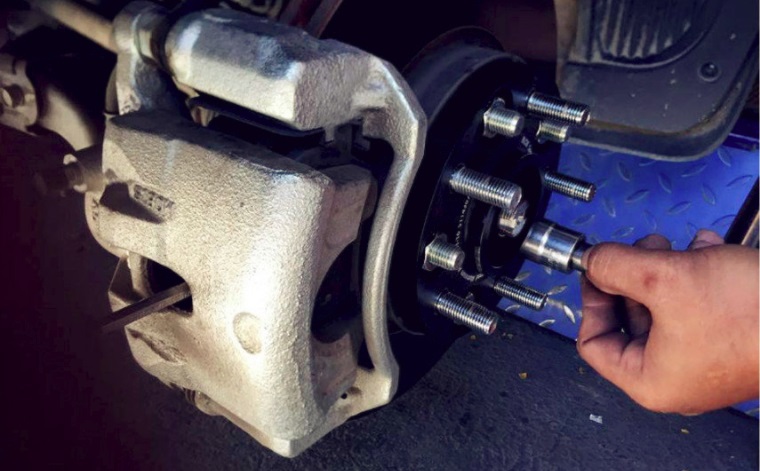
4) Install the wheel spacers, but don't use the factory lug nuts because you will use the lug nuts that came with it. Put the wheel spacer on the rotor's studs with its studs facing out. Install the lug nuts that came with it, with the rounded edge facing inside, towards the car. Use your socket to tighten them in a star fashion.
5) Re-install the wheel onto the wheel spacer's studs and install the lug nuts, but don't tighten. Remove the jack stands and lower the car, then tighten the lug nuts.
6) Lastly, take the car for a ride to verify that the wheel spacers and wheels are sitting flush.
That completes the installation for one wheel. Repeat the same process for the opposite wheel and then take it for a test ride to get accustomed to the new ride and handling. Hope this article can help you enjoy flushed wheel easy! If you need to buy cheap Wheel Spacers, come to HexAutoParts.com to enjoy the competitive price and instant delivery.
Check out more helpful resources from our buying guide:
Are Wheel Spacers Good or Bad For Your Car ?
What's The Difference Between Car Wheel Spacers And Wheel adapters?
Why You Need Hub Centric Wheel Spacers?
How to Choose Correct Wheel Spacer for Truck, Car and Jeep - What Size Wheel Spacer You Need?
