If your Honda Rancher 420 has a good battery and starting circuit but the starter motor does not operate properly, the starter may need to be replaced. This guide shows you how to replace the starter on a Honda Rancher 420. If you're not sure whether the starter is actually causing the problem, see our guide to Honda Rancher 420 Won't Start: 7 Common Causes & Fixes before replacing the starter.
Always confirm your ATV model, year, and replacement starter before beginning the repair.
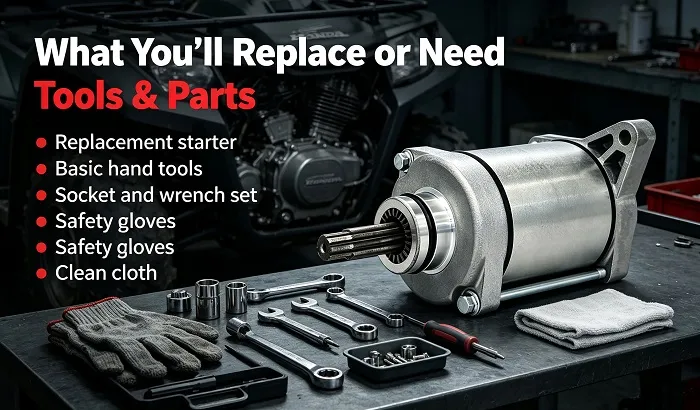
What You'll Need:
-Replacement starter
-Basic hand tools
-Socket and wrench set
-Safety gloves
-Clean cloth
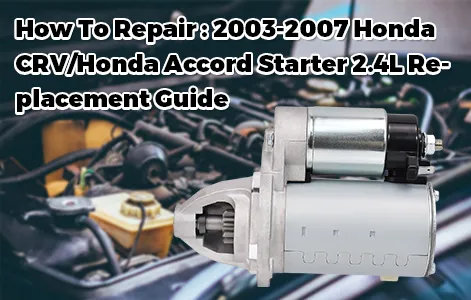
The Honda Rancher 420 TRX420 Starter is designed for compatible 2007-2017 models and replaces OEM part numbers 31200-HP5-601 and 31200-HR0-F01.
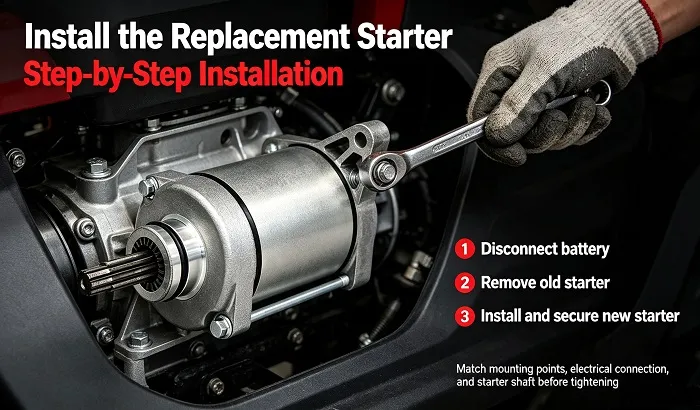
Step 1: Disconnect the Battery
Turn off the ATV and remove the key. Disconnect the negative battery cable before working on the starter.
This helps prevent accidental electrical contact while removing the starter.
Step 2: Locate the Starter
Locate the starter motor on the engine and identify the electrical connection and mounting bolts.
Before removing the old starter, take a quick photo of the wiring and starter position. This can make installation easier later.
Step 3: Disconnect the Starter Wiring
Disconnect the electrical connection from the starter.
Inspect the terminal and connector for corrosion or damage. A poor electrical connection can also cause starting problems.
Step 4: Remove the Old Starter
Remove the mounting bolts holding the starter in place.
Carefully pull the starter away from the engine. If it does not come out easily, check that all mounting hardware and connections have been removed rather than forcing it.
Step 5: Install the Replacement Starter
Compare the replacement starter with the original before installation.
Make sure the mounting points, electrical connection, and starter shaft match the original starter.
Position the new starter and secure it with the mounting bolts. Then reconnect the electrical connection.
Step 6: Reconnect the Battery
Reconnect the negative battery cable and make sure all connections are clean and tight.
Double-check that the starter wiring is properly connected before testing the ATV.
Step 7: Test the Starter
Turn the key and press the start button.
The starter should operate normally and crank the engine.
If the starter does not operate after installation, check the battery, electrical connections, starter relay, and wiring before assuming the replacement starter is defective.
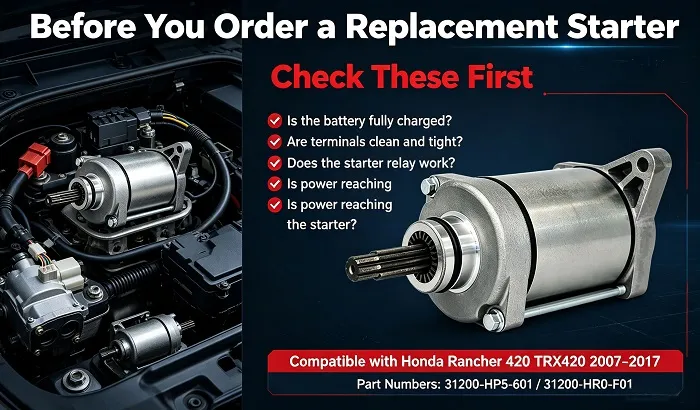
Before You Order a Replacement Starter
Not every Honda Rancher 420 starting problem is caused by the starter.
Before purchasing a replacement, check:
Is the battery fully charged?
Are the battery terminals clean and tight?
Does the starter relay work properly?
Is power reaching the starter?
Does the starter operate when the starting circuit is working properly?
If these components check out and the starter still does not operate correctly, replacing the starter may be the next step.
Replace Your Honda Rancher 420 Starter
If testing confirms that the starter is faulty, replace it with a compatible starter and follow the installation steps above.
After installation, reconnect the battery and test the starter to make sure the engine cranks normally. If the starter still does not operate, recheck the battery, wiring, connections, and related components.